
Hole in Wall Repair: How to Know What Your Wall Actually Needs
A hole in your wall may look like a small problem, but the right repair depends on what is happening beneath the surface. If you need to repair a hole in wallboard, the first step is to look beyond the opening itself. A small nail hole may need only a simple patch, while a larger opening, cracked area, or moisture damage can require a more involved wall repair.
Before you start patching, take a moment to assess the damage. Understanding its size, location, surrounding condition, and the finish you want can help you choose the right repair approach and avoid a patch that remains visible after painting.
Get a Free EstimateStart HereFirst, Figure Out What Kind of Damage You're Dealing With
Not every damaged wall needs the same type of repair. A small nail hole is very different from a large opening where part of the drywall has broken away.
Before deciding how to handle the repair, take a close look at the area and consider:
- How large is the damaged area?
- Are the edges clean, cracked, or crumbling?
- Is the surrounding drywall damaged?
- Does the wall feel solid around the hole?
- Is there any sign of moisture, staining, or water damage?
- Does the visible damage appear to extend beyond the hole?
A small surface defect may only need basic patching, while damage that affects a larger section of the wall may require cutting out and replacing part of the drywall.
Where the Damage Comes FromWhat Usually Causes Holes in Interior Walls
Knowing the cause of the damage is often as useful as measuring the hole itself, since some causes point toward a bigger underlying issue while others are truly one-off events.
- Doorknob impact. One of the most common causes in homes with interior doors that lack a stop, leaving a round hole at knob height.
- Furniture and moving damage. Bumps and gouges from moving furniture, appliances, or boxes through a hallway or doorway.
- Accidental impacts. Anything from a dropped tool to a rough game of catch indoors.
- Plumbing or electrical access. Holes cut deliberately to reach pipes or wiring, which need to be closed properly once the work behind them is done.
- Pest damage. Less common, but rodents and some insects can create or widen openings in drywall, usually near baseboards or corners.
- Moisture weakening the material. Drywall that has been softened by a leak can develop a hole from very little force, which is a sign the damage goes beyond the visible opening.
The first two or three causes on this list are usually straightforward to patch. The last two are worth pausing on, since a hole caused by pests or moisture is often a symptom of something happening inside the wall, not just on the surface.
Small vs. LargerWhat Changes as the Damage Gets Bigger
Small Holes
Nail holes, screw holes, and minor impacts are generally the simplest to address. A basic repair involves filling the damaged area, letting it dry, smoothing the surface, and preparing it for paint. The real challenge is making the patch blend in, not filling the hole itself. This is also the same scope of work covered in professional drywall mudding and taping for homeowners who would rather have it done once, properly.
Larger Openings
When part of the drywall has broken away, the damaged material usually needs to be removed for a clean, stable edge. This can involve adding support, fitting a new piece of drywall, treating the seams, and building the surface back up before sanding. This kind of work often overlaps with a broader renovation and finishing project rather than a standalone patch.
Moisture-Related Damage
Large drywall damage becomes more complicated when moisture is involved. Covering the visible damage without addressing the underlying cause may not provide a lasting solution. If the moisture is tracking back to a leak or grading issue below the wall, a basement waterproofing solution can address that source directly.
Finish QualityA Good Repair Should Blend Into the Existing Wall
It is easy to think of wall repair as simply filling a hole. The finished result, however, depends heavily on what happens after the damaged area has been patched.
A complete repair may involve: repairing the damaged section, treating the seams, sanding, smoothing the surface, matching the existing finish, and preparing it for whichever painting work comes next.
If the existing surface has texture, the repaired area needs to be blended into that texture. If the wall is smooth, careful sanding is important to avoid visible transitions, especially under strong natural or direct lighting.
Budgeting for the RepairDIY Materials vs. Professional Repair: What Affects the Cost
Cost is often the deciding factor between patching a hole yourself and calling a professional, so it helps to understand what drives the price on either path.
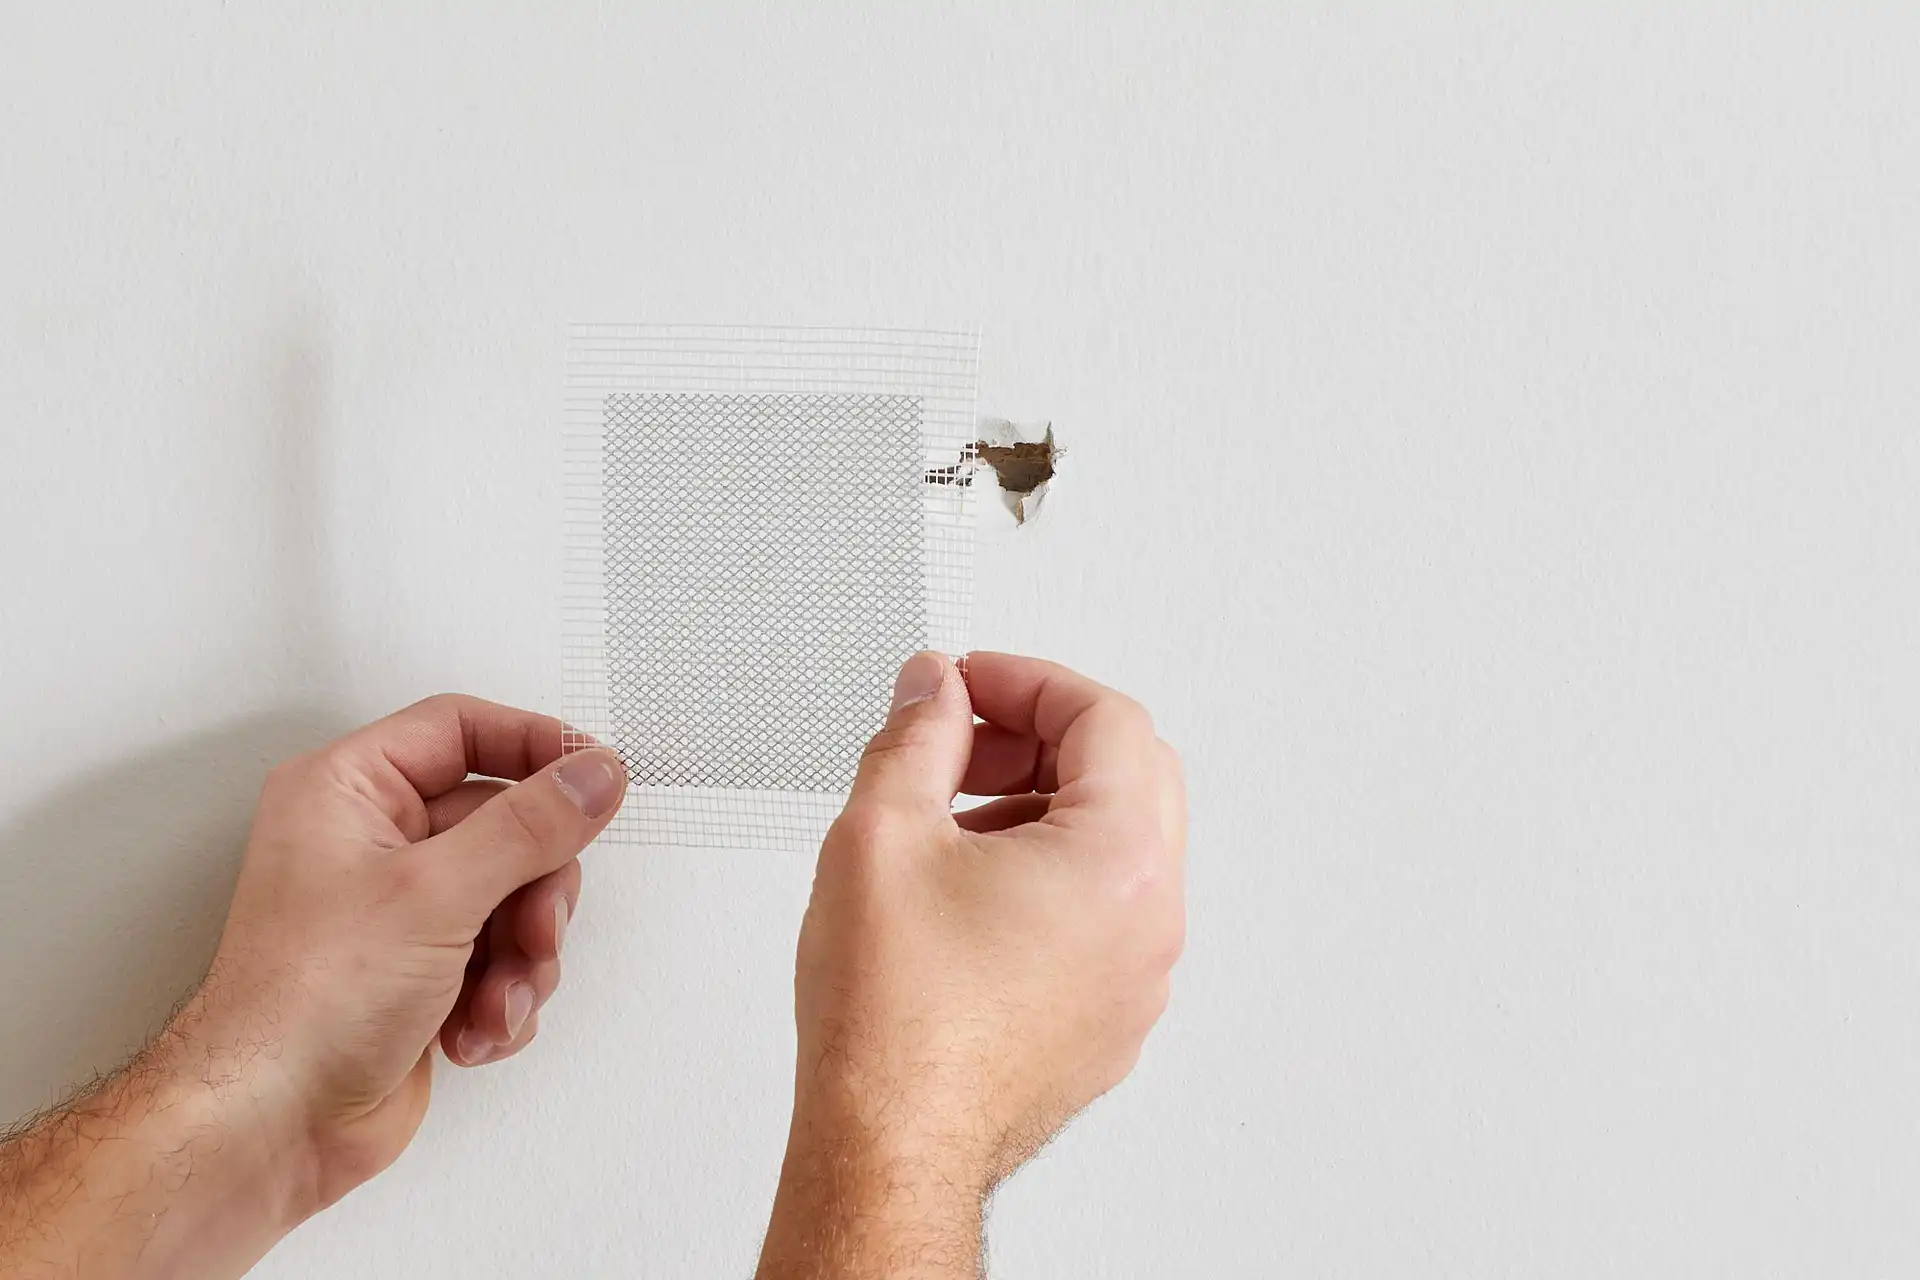
DIY materials for a single small hole are inexpensive: a mesh patch, a tub of joint compound, a putty knife, and sandpaper will cover most nail-hole or minor-dent repairs, plus whatever touch-up paint is needed to finish the job.
Professional repair costs more per hole, but the price reflects more than materials. A contractor is also pricing in travel and setup, matching an existing texture or sheen, working around furniture and flooring, and standing behind the finished result. Costs typically scale with:
- The size and number of holes being repaired in one visit
- Whether texture matching is required
- Access difficulty, such as ceilings or stairwells
- Whether the cause of the damage needs to be addressed as well, not just the hole
For a single small hole, DIY is often the more economical route. Once you are looking at several damaged areas, a large opening, or a repair tied to moisture or a previous patch that did not hold, a written quote is usually worth getting before deciding, since the true cost of a repeated DIY attempt can end up higher than doing it right the first time.
DIY or Professional?When Should You Stop Trying to Fix It Yourself?
A small, straightforward repair can be manageable as a DIY project. The decision becomes different when the damage is extensive, difficult to access, or connected to another problem.
Professional help may make more sense when:
- The hole is large or the surrounding drywall is badly damaged
- Cracks continue beyond the original damaged area
- There are signs of moisture or water damage
- The wall feels unstable around the damaged section
- A previous repair has left a visible or uneven patch
- The damage is on a ceiling or another difficult-to-access area
- The existing wall texture is difficult to reproduce
- Several damaged areas need to be repaired at the same time
| Type of Damage | DIY May Be Reasonable | Professional Repair May Make Sense |
|---|---|---|
| Small nail or screw hole | ✓ | |
| Minor surface dent | ✓ | |
| Larger opening | ✓ | |
| Extensive surrounding damage | ✓ | |
| Water-damaged drywall | ✓ | |
| Difficult ceiling repair | ✓ | |
| Difficult texture matching | ✓ | |
| Multiple damaged areas | ✓ | |
| Previous repair remains visible | ✓ |
If your damage falls into the right-hand column, it may be worth having it assessed rather than repeatedly patched. For repairs that extend beyond a simple patch, Vancouver drywall repair and installation can include work such as repairing damaged sections, addressing cracks, and preparing the surface for a consistent finish.
Common QuestionsFrequently Asked Questions About Hole in Wall Repair
Yes. Small holes from nails, screws, or minor impacts are usually manageable as a DIY project. The repair itself is often simple; getting the patch to blend into the surrounding wall is the part that takes the most care.
For a small hole, a self-adhesive mesh patch, joint compound, a putty knife, and sandpaper are usually enough. Larger holes may need a backing piece, drywall tape, and additional coats of compound to build the surface back up.
There is no single size cutoff. A hole becomes harder to DIY when the surrounding drywall is damaged, the edges are crumbling, the wall feels unstable, or there are signs of moisture. At that point a professional assessment is worth it.
Spackle works fine for very small dents and nail holes. For anything larger, joint compound applied in thin coats, with sanding between coats, gives a smoother, more blendable result.
A patch can look smooth before painting and still show once painted if the surrounding wall has a different texture or sheen. Sanding evenly and matching the existing texture matters just as much as filling the hole.
If the damage is extensive, the wall feels unstable, there are signs of water damage, or a previous DIY patch is still visible, it is worth having the area assessed rather than repeating the same repair.
The most common causes are doorknob impacts, furniture or moving damage, accidental impacts, and access holes cut for plumbing or electrical work. Less common causes include pest damage and moisture that has weakened the drywall from behind.
A basic DIY kit for a small hole usually costs very little in materials. Professional repair costs vary more, since they depend on the size of the damage, how many areas need repair, texture matching, and whether ceiling or hard-to-access areas are involved. A written quote after an in-person or photo assessment is the most reliable way to know what a specific repair will cost.
Not Sure If Your Wall Needs a Pro?
If the damage looks bigger than a simple patch, or you're just not sure, our Lower Mainland drywall team can take a look and tell you what it actually needs.